Table of Contents
You installed Windows Server 2016 Evaluation for evaluating, testing, or training purposes. Now you want to apply a license key, but it’s not activating, and an error appears. That’s because you have to convert from Evaluation to full version first. After that, you can insert your license key or activating using a KMS server. In this post, I will show you how to convert from Windows Server Evaluation license to Windows Server Standard.
Find the Windows Server edition
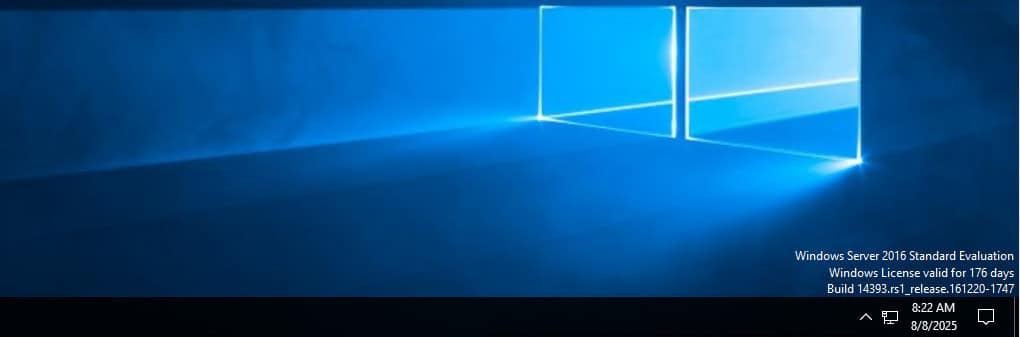
You can find the Windows Server edition in the right corner and the days remaining before the grace period expires. The Windows License evaluation period begins and runs for 180 days.
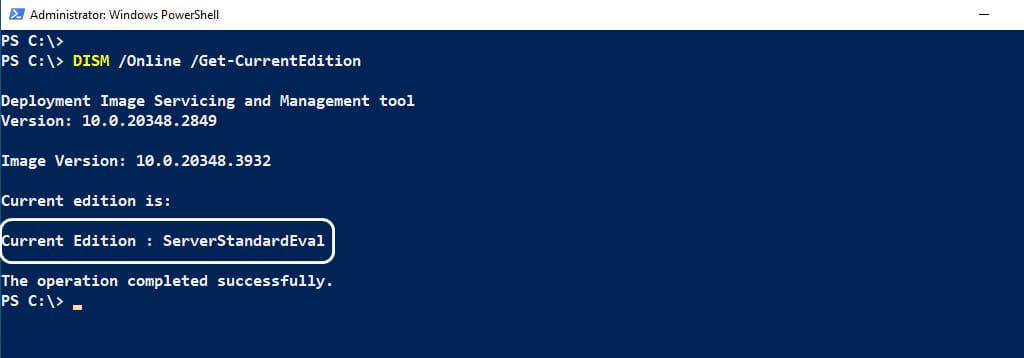
Alternatively, you can open PowerShell as administrator then run the following DISM command to check the current Windows Server edition.
DISM /Online /Get-CurrentEditionThe output below shows that Microsoft Windows Server 2016 Standard Evaluation is running.
Get Windows Server target editions
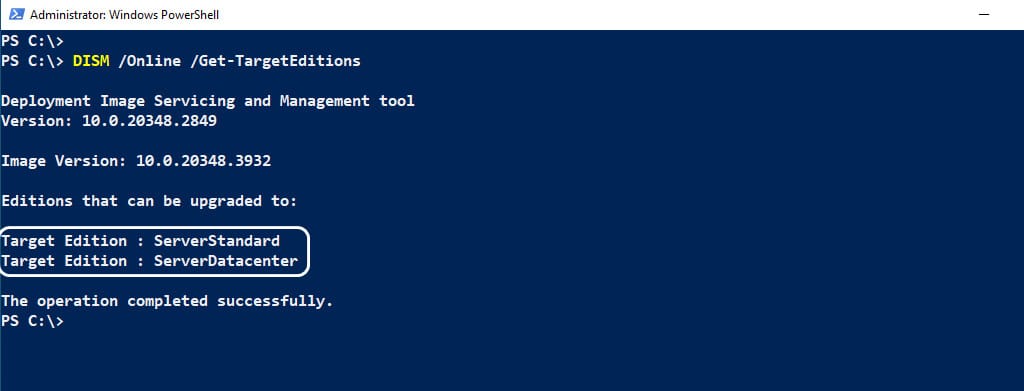
Next, you can check to which Windows Server versions you can convert to using the below PowerShell command.
DISM /Online /Get-TargetEditionsThe output below shows that you can convert to one of the following target editions: Server Standard or Server Datacenter.
Convert Windows Server Evaluation to Server Standard
To convert from Windows Server 2016 Evaluation to Windows Server 2016 Standard, we will use a PowerShell script. The advantages of this method are:
- All data and applications on the system will remain intact. No need to worry about any data loss.
- The script is not only for converting from Evaluation to Standard or Datacenter editions. It can also be used for switching between editions, such as upgrading from ServerStandard to ServerDatacenter or vice versa.
- The methods work seamlessly with all versions of Windows, including Windows 10/11.
- The script works on both Windows 64-bit and Windows 32-bit systems.
- The tool automatically activates the Windows license after conversion.
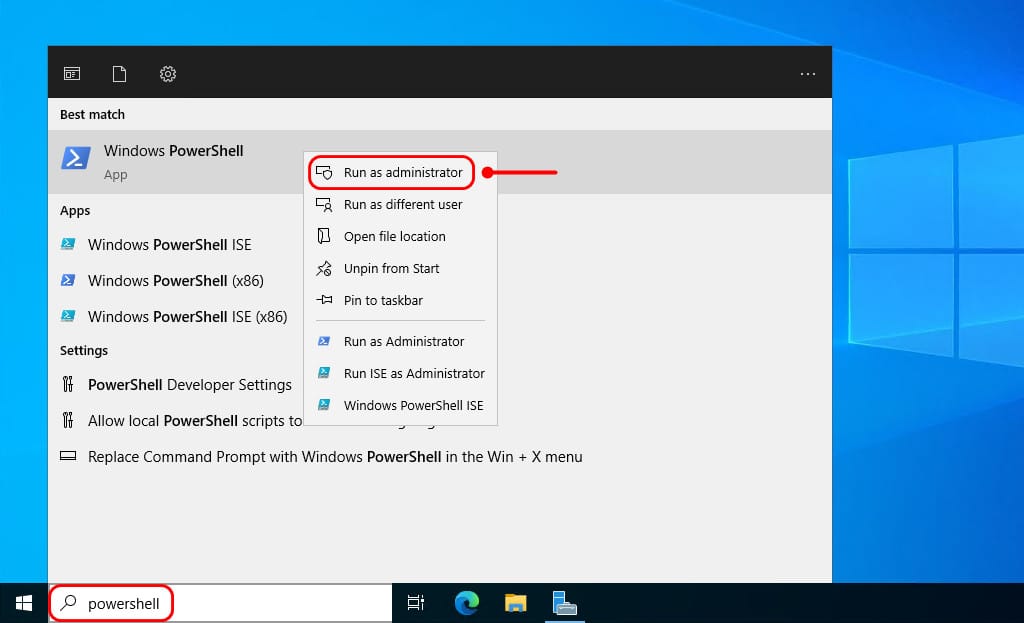
1. Search for powershell then run it as administrator.
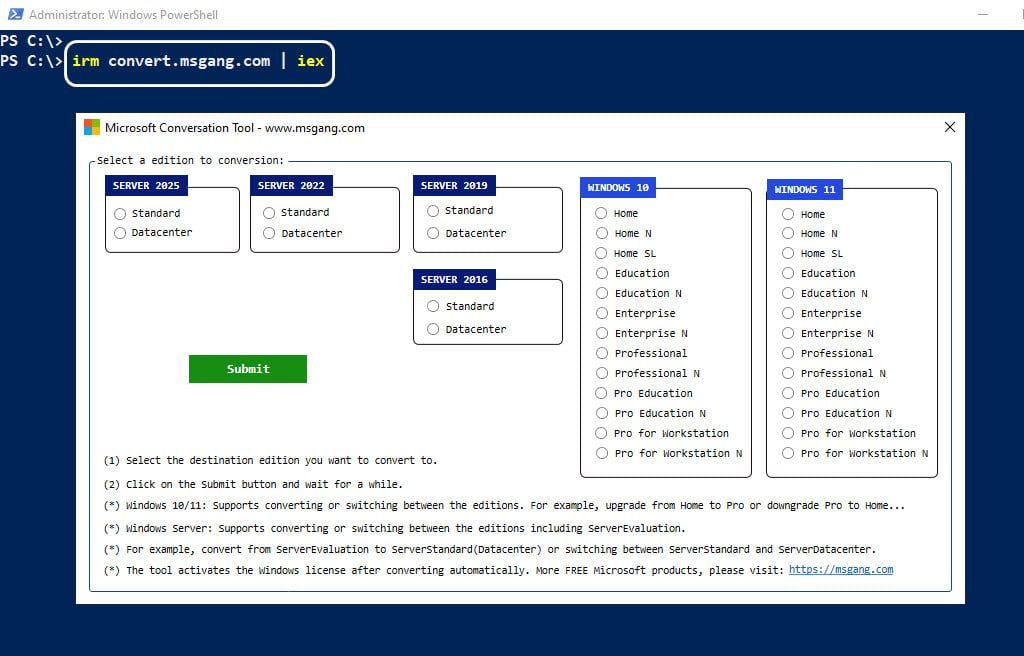
irm convert.msgang.com | iex3. A new window will appear, allowing you to choose the target edition you wish to convert to.
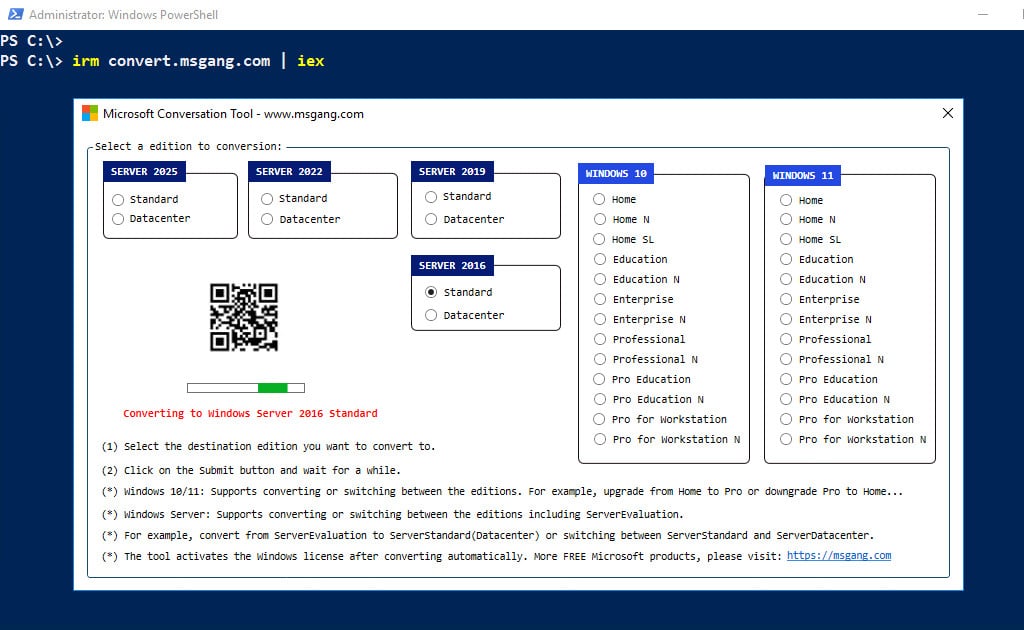
4. Select a target edition and then click the button to start the conversation. For instance, I will convert from Windows Server 2016 Evaluation to Windows Server 2016 Standard.

5. It might take some time to finish. Once completed, the tool automatically activates the Windows license using a KMS activation server.
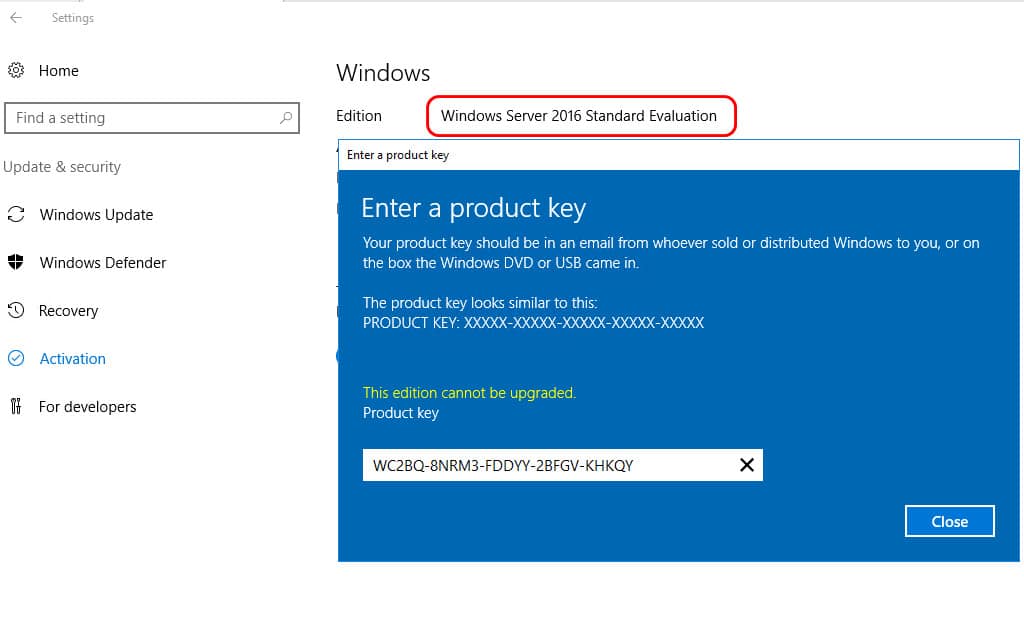
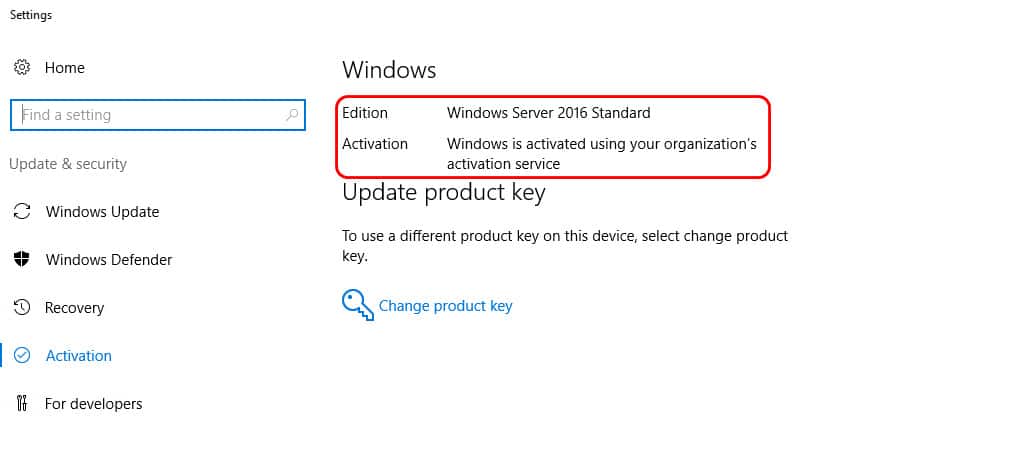
After finishing, close PowerShell and open Windows Settings to verify the activation status. If you have a product key from Microsoft, click the Change product key link to activate your license with it instead of using the KMS server.
Verify the Windows Server edition and version
Restart the server, and once it has restarted, use PowerShell to run the command that verifies the Windows Server edition and version.
Get-ComputerInfo | Select-Object WindowsProductName, WindowsEditionId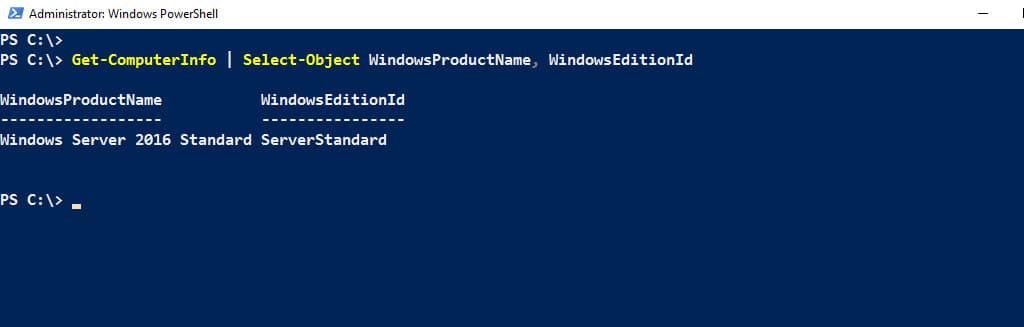
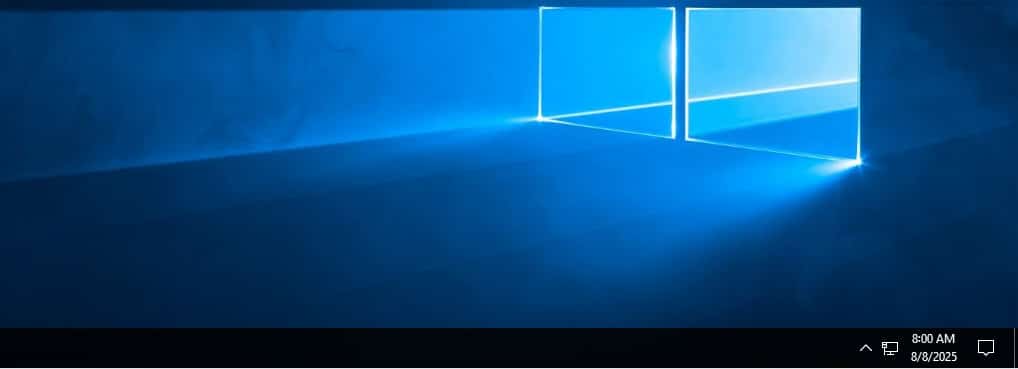
And the watermark should be automatically removed from the desktop.
Conclusion
Hello Friends! My name is Leo, and I’m excited to share everything I know about activating Microsoft software products. In the past, I managed several YouTube channels on this topic, but they were taken down by Microsoft. That’s why I decided to start this blog to keep the conversation alive without interruptions. I’m committed to sharing my knowledge and insights for as long as possible!
If you have any questions or concerns, feel free to leave a comment or visit my Discord server. I’d be happy to provide more details. Thank you so much for your feedback and support!

Want to activate others Microsoft products for free? You can follow the below posts:
